
Filming an Interview Using Natural Light for the Best Denver Video Production Results
Natural light can elevate an interview from standard to cinematic—when it’s shaped and controlled with intention. In professional Denver video production and high-end videography, the goal is not simply to “use available light,” but to direct it in a way that enhances depth, contrast, and skin tone while maintaining consistency throughout the shoot.
Here’s how to approach natural light interviews with a professional, production-level mindset.
Start with Window Light as Your Key
4
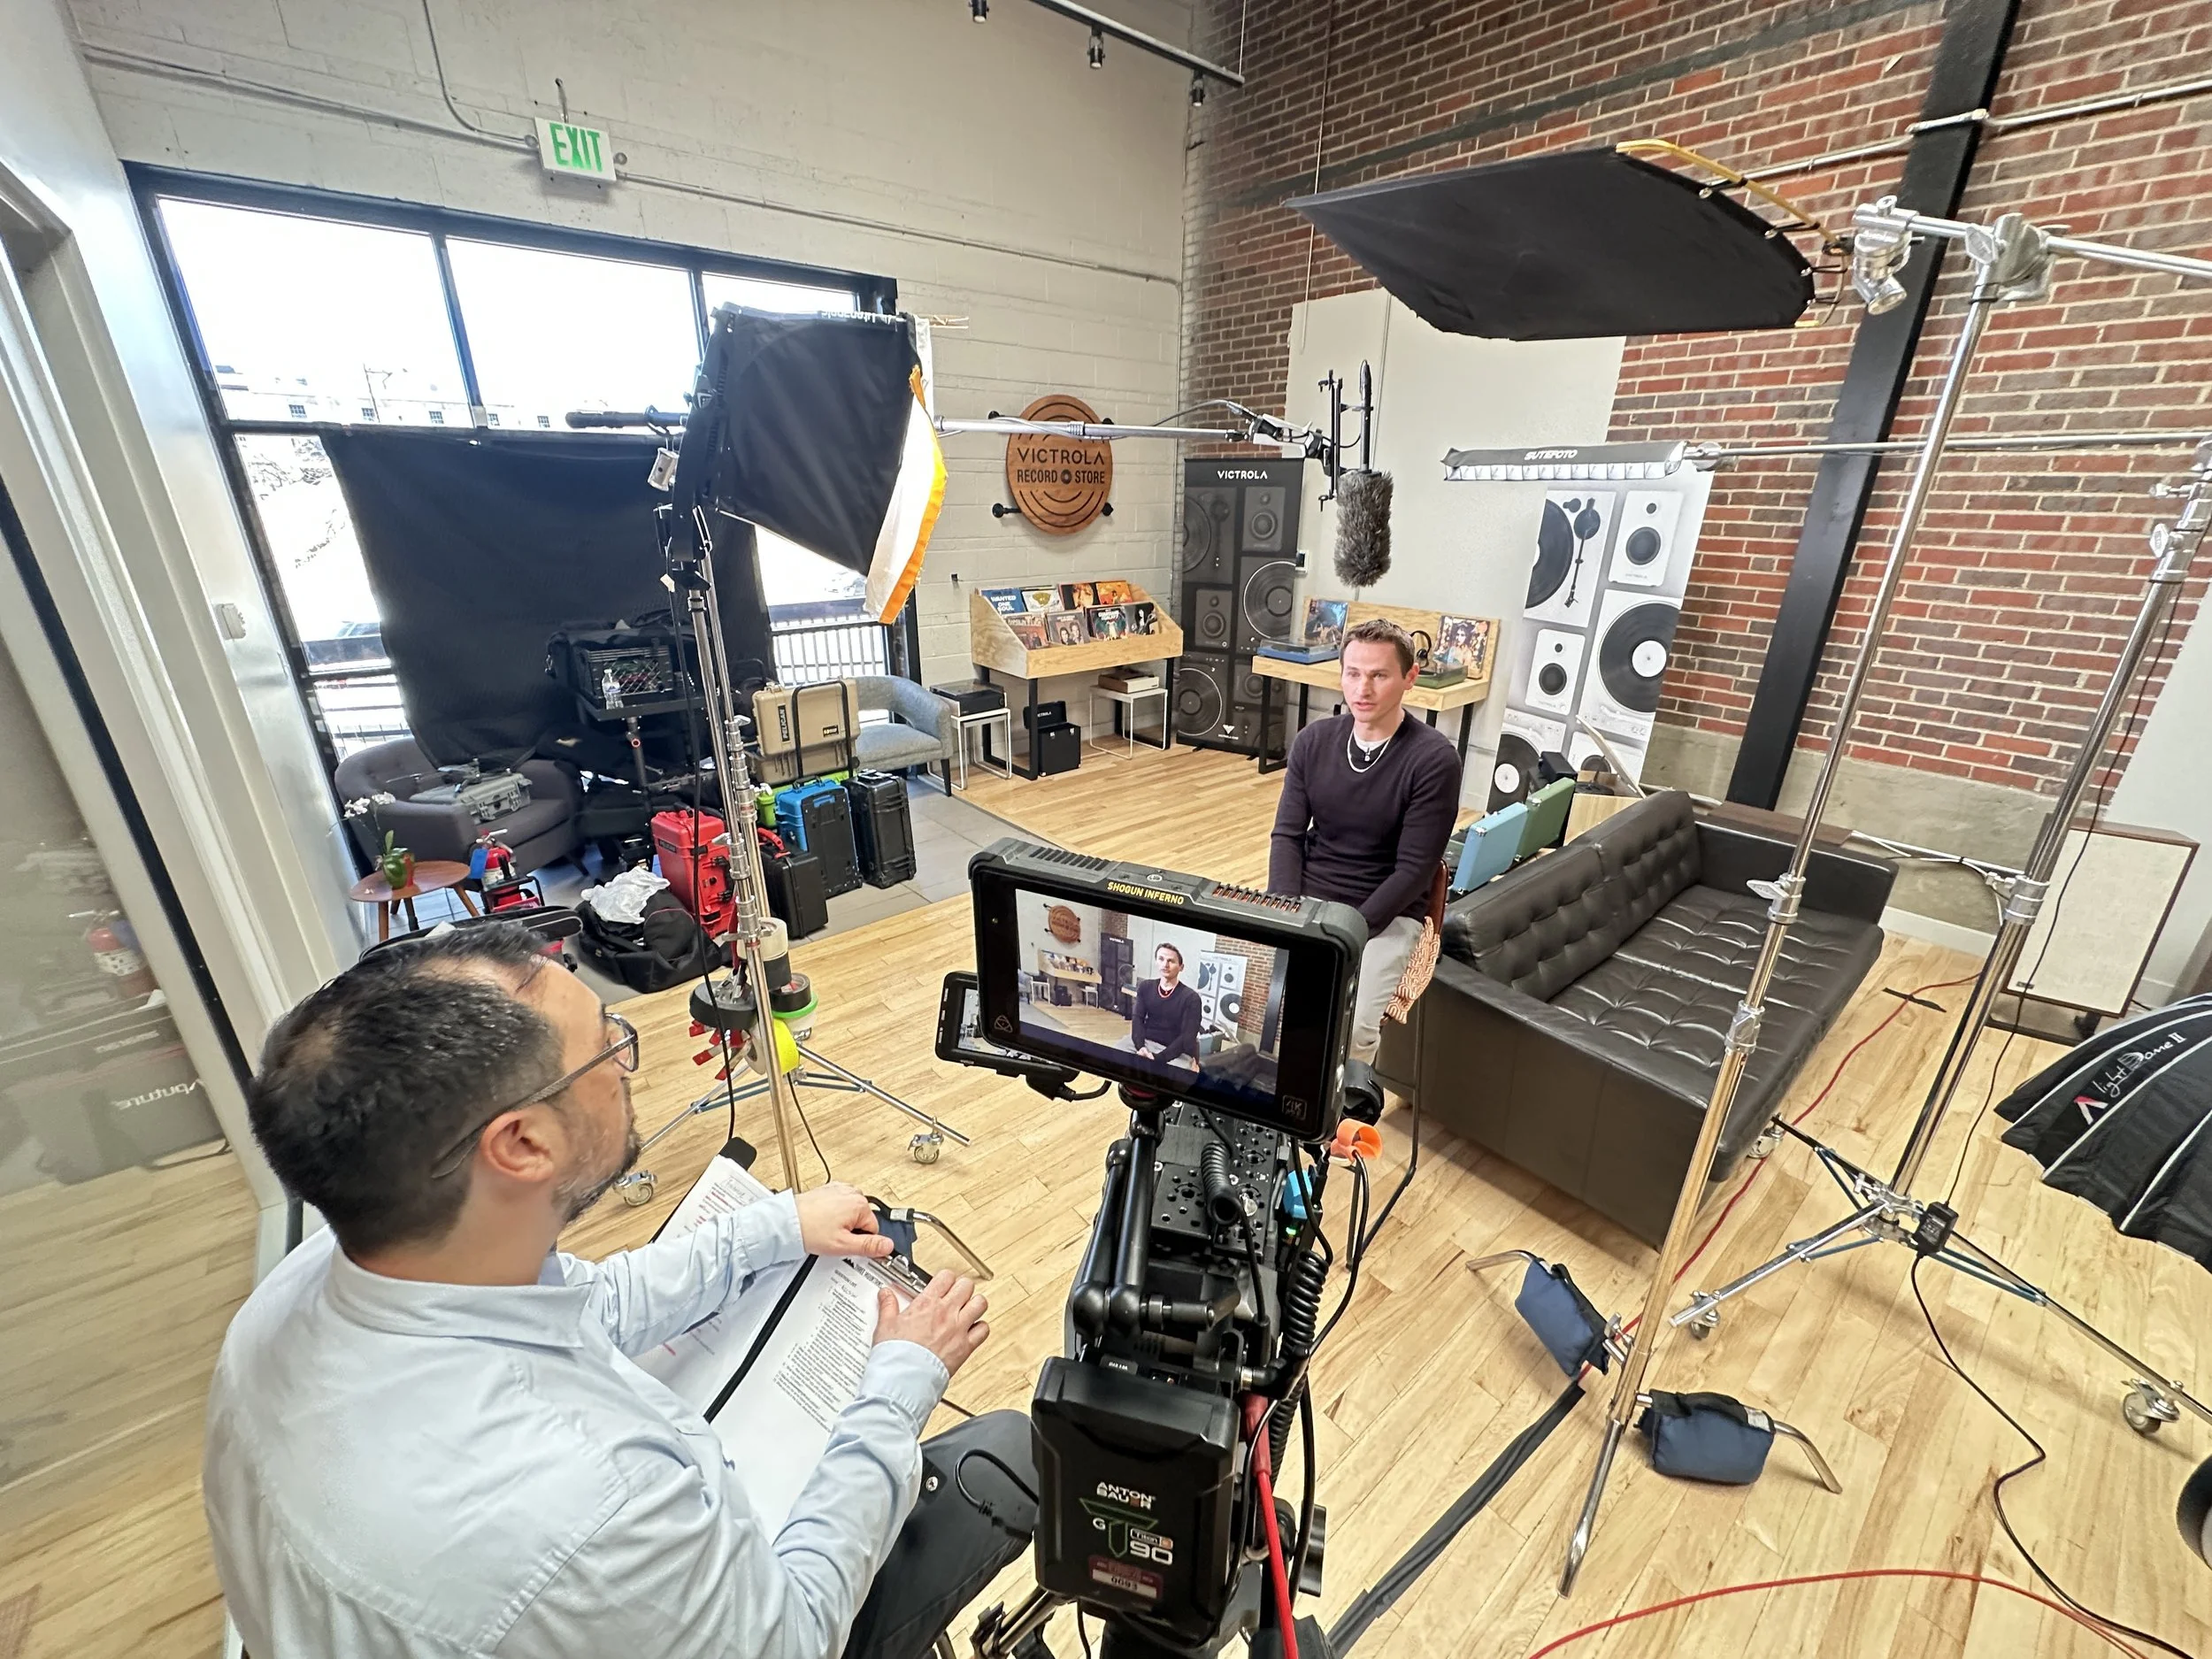
A large window is your most powerful tool. Treat it as your key light.
Position your subject so the window light hits them from the side at a slight angle—typically around 45 degrees. This creates natural modeling on the face, adding dimension and avoiding the flat look that comes from front lighting.
Avoid placing the subject directly facing the window head-on. A slight angle introduces shadow, and shadow is what creates depth—something every strong videography approach relies on.
Soften the Light with Shears
Direct sunlight is rarely flattering. It creates harsh highlights, deep shadows, and inconsistent exposure.
Adding sheer curtains (or diffusion) to the window softens the light source, spreading it evenly across the subject’s face. This creates a more forgiving, cinematic look—especially important for interview-driven Denver video production where tone and clarity matter.
If you don’t have shears available, even a diffusion panel or light fabric can help achieve a similar effect.
Match Your White Balance When Mixing Light Sources
If you leave practical lights on in the room (lamps, overheads), you must account for color temperature differences.
Daylight from windows is typically around 5600K, while interior bulbs can range from warm tungsten (3200K) to mixed LED temperatures.
You have two options:
Adjust your camera’s white balance to match the dominant source
Or modify the practical lights (bulb swap or gels) to align with daylight
Ignoring this step leads to mixed color casts—blue highlights and orange shadows—which immediately reduces the quality of your videography work.
Add Contrast with Negative Fill
Natural light often fills a room too evenly, especially with light-colored walls. This reduces contrast and can make the image feel flat.
Negative fill solves this.
Place a solid black flag (or even black foam core) on the shadow side of your subject—opposite the window. This absorbs light rather than reflecting it, deepening shadows and restoring contrast.
This technique is widely used in professional Denver video production to create a more cinematic image with stronger separation between light and shadow.
Control Overhead Light from Skylights
Skylights can be a hidden problem. While they add brightness to a room, they often introduce unflattering top-down light—creating shadows under the eyes and flattening facial features.
The solution is simple:
Flag the skylight
Place a solid flag over the subject to block or control that top light. This allows your window light to remain the dominant, directional source—an essential principle in high-quality videography.
Great interview lighting isn’t about how much light you have—it’s about how well you shape it.
By softening window light, matching white balance, introducing negative fill, and eliminating unwanted overhead light, you create an image that feels intentional and cinematic.
This level of control is what defines professional Denver video production and separates average footage from truly polished videography.
When done right, natural light doesn’t just illuminate your subject—it elevates the story with clarity, depth, and professionalism.